How to Make Sourdough Starter (Step-by-Step Guide)
Day 1: Mix the Ingredients
1️⃣ In a clean glass jar or bowl, mix 1 cup of flour with 1/2 cup of water.
2️⃣ Stir in 1 tablespoon of sugar or honey (this helps kickstart fermentation).
3️⃣ Mix well until there are no dry lumps.
4️⃣ Cover loosely with a lid or cloth to allow airflow.
5️⃣ Let it sit at room temperature for 24 hours.
Day 2–7: Feed Your Starter
1️⃣ Every 24 hours, discard half of the starter (about 1/2 cup).
2️⃣ Add 1/2 cup of fresh flour and 1/4 cup of water. Stir well.
3️⃣ Repeat this process daily for 5 to 7 days.
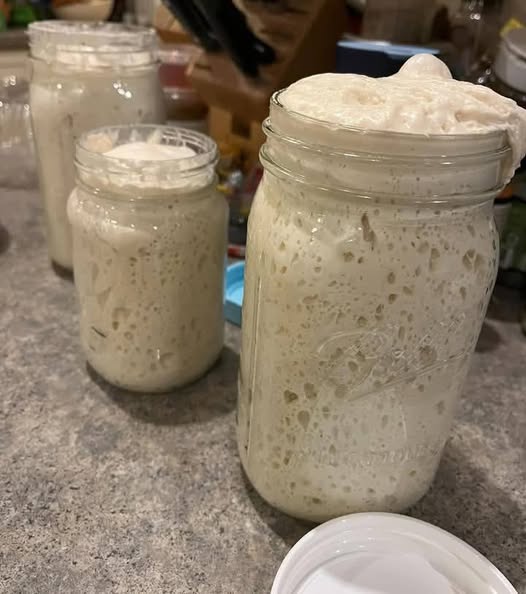
💡 Signs Your Starter is Ready:
✔ Bubbly texture – Active and fermenting.
✔ Pleasant sour smell – Slightly tangy, not foul.
✔ Doubles in size – Healthy yeast activity.
How to Store & Maintain Your Sourdough Starter
🥶 In the Fridge – Once your starter is mature, store it in the fridge and feed it once a week.
🔥 At Room Temperature – If baking often, leave it out and feed it daily.
🥄 To Use It – Take it out, feed it, and let it activate before baking.
✔ Tip: If your starter develops hooch (a dark liquid on top), just stir it back in or pour it off before feeding!
FAQs
Q: How long does a sourdough starter last?
A: Forever! As long as you continue feeding it, your starter will stay alive. Some bakeries have starters that are over 100 years old!
Q: Can I use whole wheat or rye flour?
A: Yes! Whole wheat or rye flour can help boost fermentation but may require more water.
Q: What if my starter isn’t bubbling?
A: Make sure you’re using filtered water (chlorine can kill yeast) and keeping it in a warm spot (70–75°F).
Now, Let’s Bake Some Sourdough Bread!
📌 Pin this post for later and share with fellow bakers!
